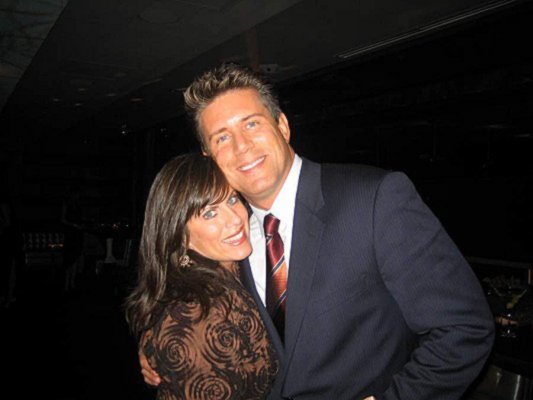
| 7/13 | Received a great digital image via email from the couple after they saw the Precision Puzzles Booth at a local Bridal Show. The request is for a 24" x 20" Guest "Signatures" puzzle for an upcoming Bridal Shower. The average piece size will be about 6 sq. in. with 80 pieces. |
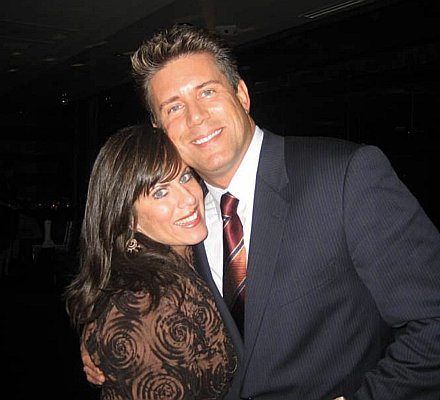
| 7/16 | The image resolution was a little low for a 24x20 enlargement; it is desirable to keep the resolution at a minimum of 100 pixels per inch on the final printed enlargement. A 24" x 20" print would therefore require 2400 x 2000 pixels in the digital file. The supplied digital image was 900 x 675. Since the image was in great focus, blurriness was not a problem during the digital enhancement. I used my image processing software to enhance the resolution so that pixelization would be minimized for the enlargement. The photographic interpolation gave a smooth increase in file resolution for a file size of 3200 x 2666 pixels, great for a 24x20 enlargement. Additional photo editing was performed to warm up the image. The image was cropped to reduce the background area and zoomed a bit. The composition of the pose makes a 22 x 20 image a good balance, still plenty of area, about 5.5 sq in, to write a nice note to the couple. |
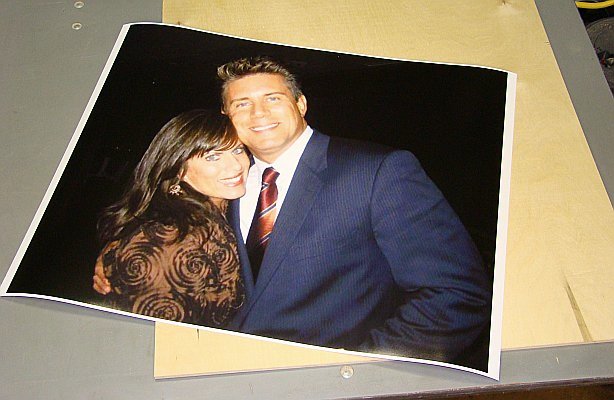
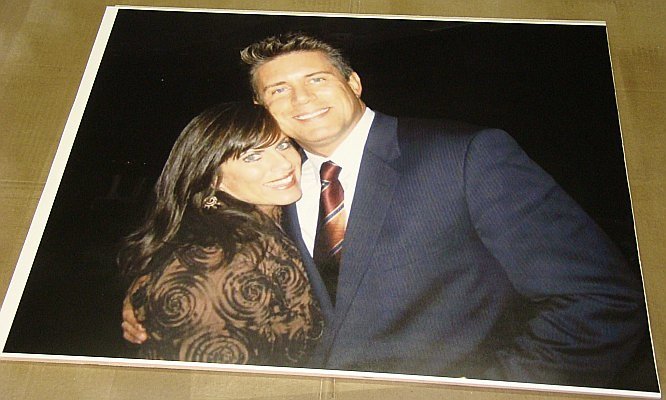
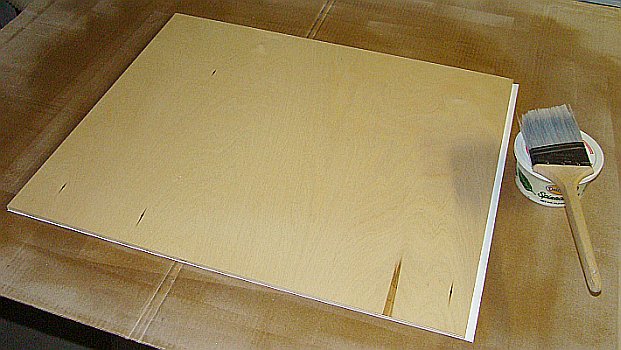
| 7/16 | The photo and wood are prepared for mounting. The photographic paper is durable, has long lasting inks and works well with the .008" wide saw blade.The photo will be mounted and trimmed to remove the white border. It will be sprayed with a few coats of protective finish on top to keep little hands from smudging the puzzle pieces. After drying it's ready to start cutting. |
| 7/16 | The photograph is mounted to the sturdy 5 ply birch plywood. |
| 7/16 | The back of the plywood is prepped with a sealer for a long lasting keepsake. This also helps the Blessings and Signatures from bleeding into the wood grain and smearing.
|
| 7/16 | The border is trimmed to 22"x20" , ready for the scroll saw.
|
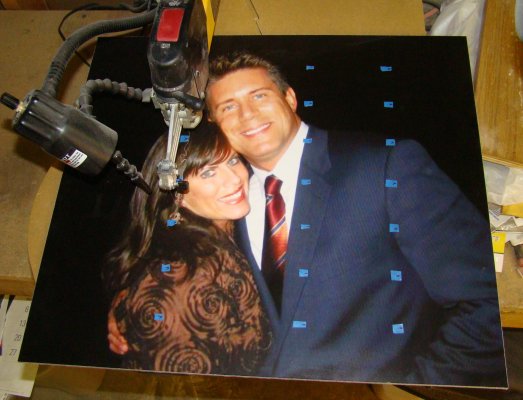
| 7/16 | A few location marks help aim the cutting into the initial strips. With a matrix cutting style the final number of pieces can be determined exactly. The shape of these pieces will be familiar to the puzzle assemblers and will assist in solving it. A freestyle cut is also a fun choice but is more difficult to predict exactly how many pieces will be cut when finished.
|
| 7/16 | Making progress. The verticle dimension is the same length as the scroll saw arm so some special setup changes are needed to cut these first sections; a little more time comsuming.
|
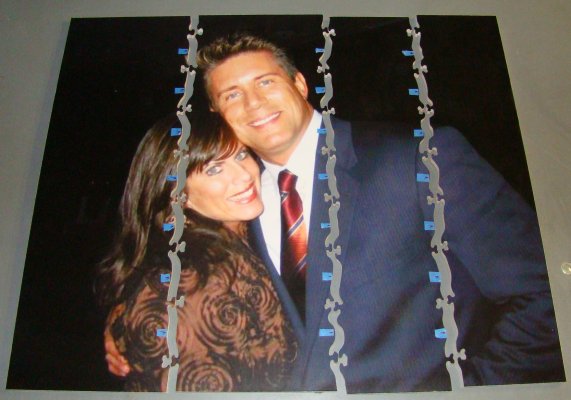
| 7/16 | Columns complete.
I have to take care cutting across facial features to minimize distractions for the puzzle viewer.  |
| 7/17 | Halfway through the row cutting.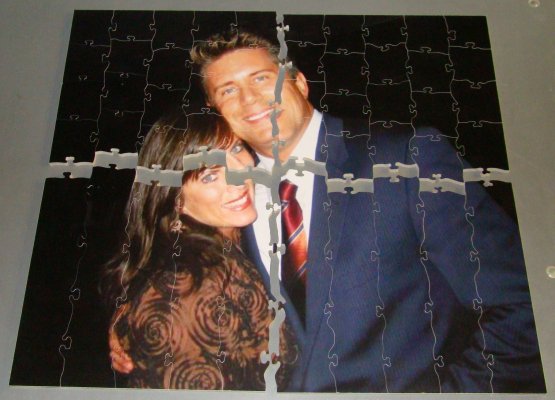 |
| 7/17 | A closer look at some of the pieces. When cutting the left to right cuts, I dodge the intersections so that fewer corners meet at a single point. Die cut cardboard puzzles have 4 corners meeting at one point. 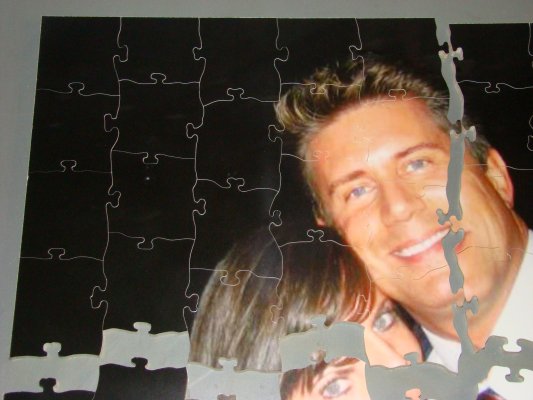 |
| 7/18 | Some tissue in the box to keep the piece from bouncing around. 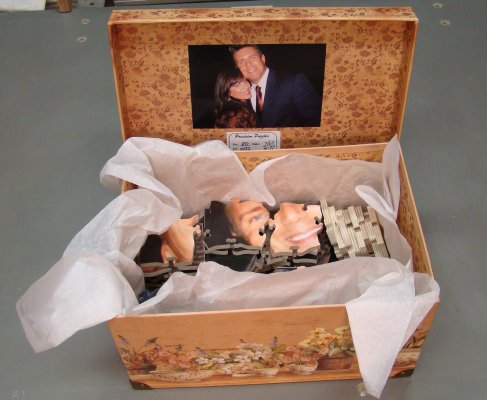 |
| 7/18 | Ready for delivery. Made it in under a week.  |

Back to Precision Puzzles Home Page